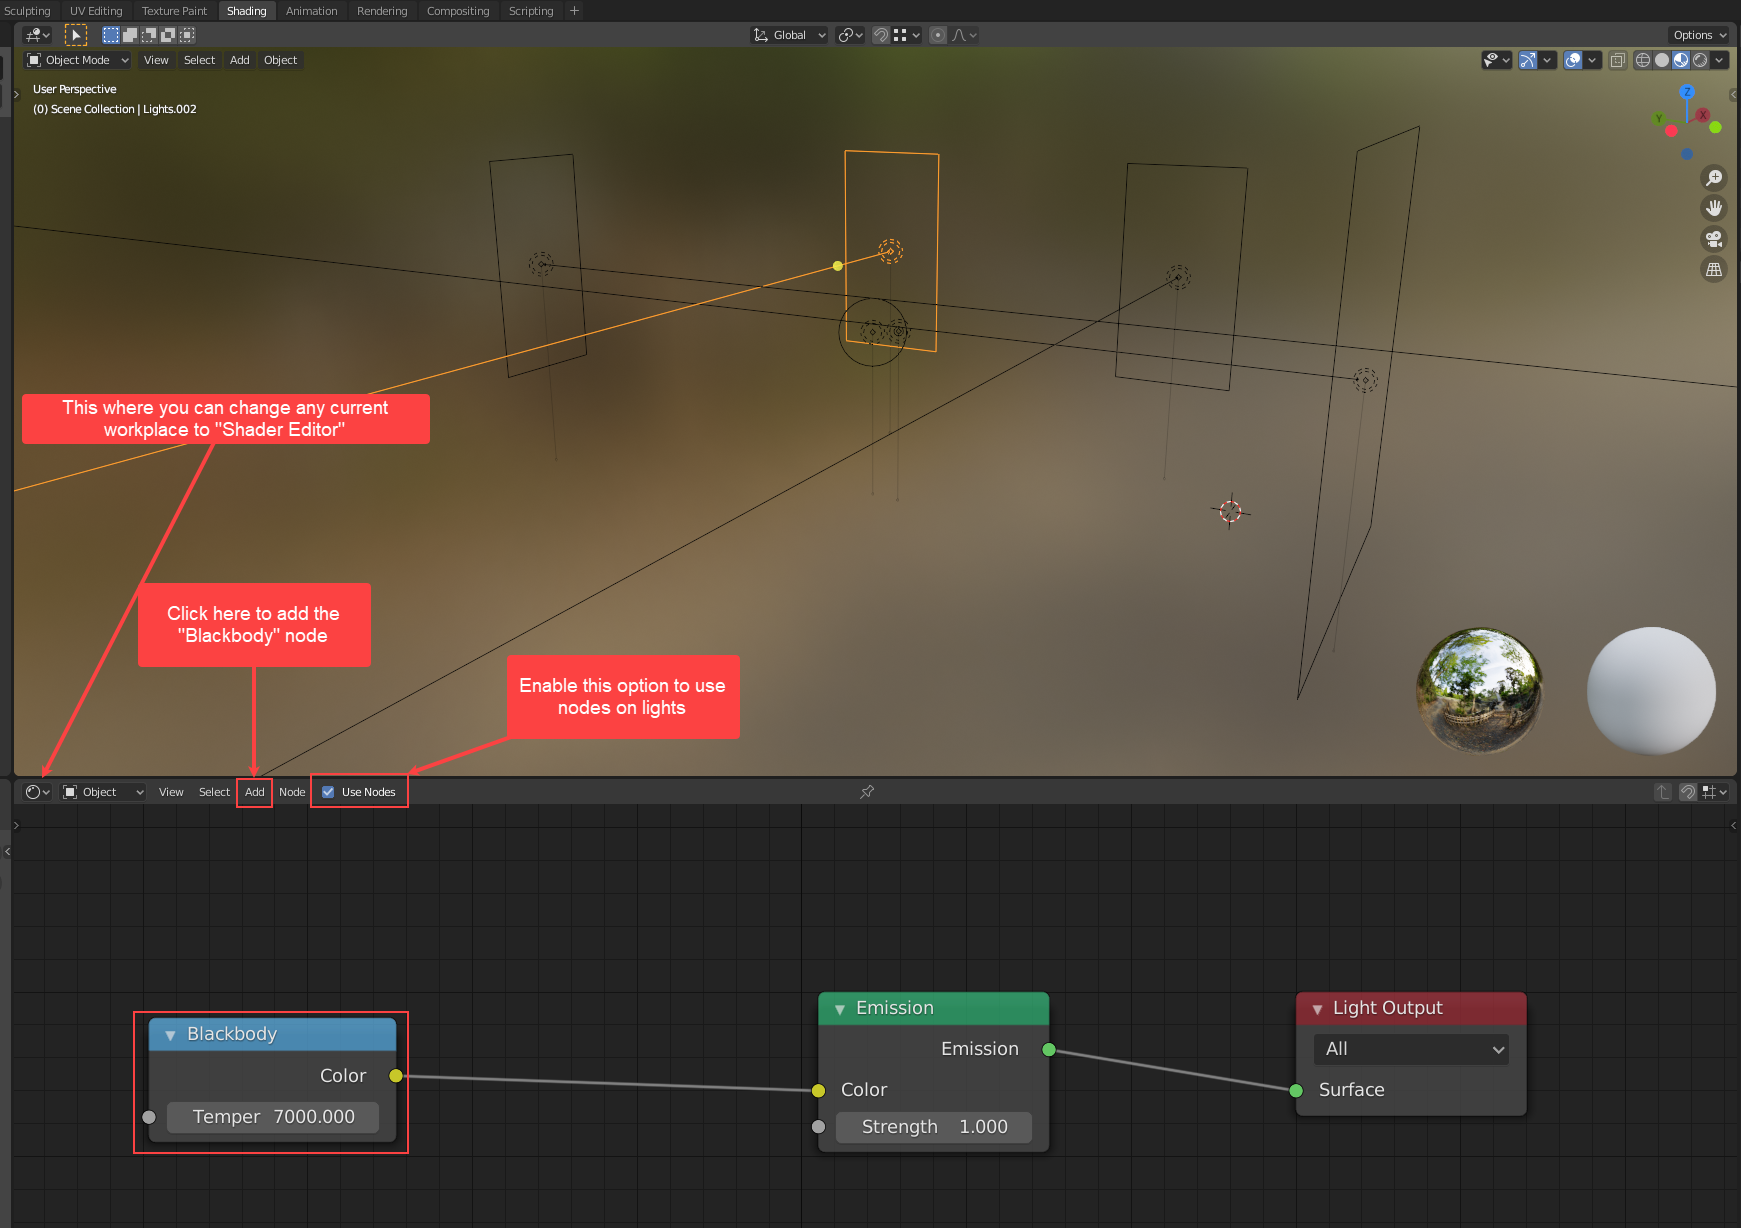
In Shader Editor simply enable the “Use Node” toggle and you should be able to add the Blackbody node there like below image –
Another very important aspect where I had to struggle so much is how to get the correct light intensities for natural bounce and contrast because in Blender, especially Cycles lights work differently from other rendering engine. I highly suggest you guys go through Johnson Martin’s post on Blendergrid.com about the same.
Link – https://blendergrid.com/learn/articles/cycles-physically-correct-brightness
It’s critical to understand these values as Blender by default does not support “Physical Camera Settings” out of the box which we all 3ds Max users are found off.
Camera setup is straight forward as it contains very basic settings –
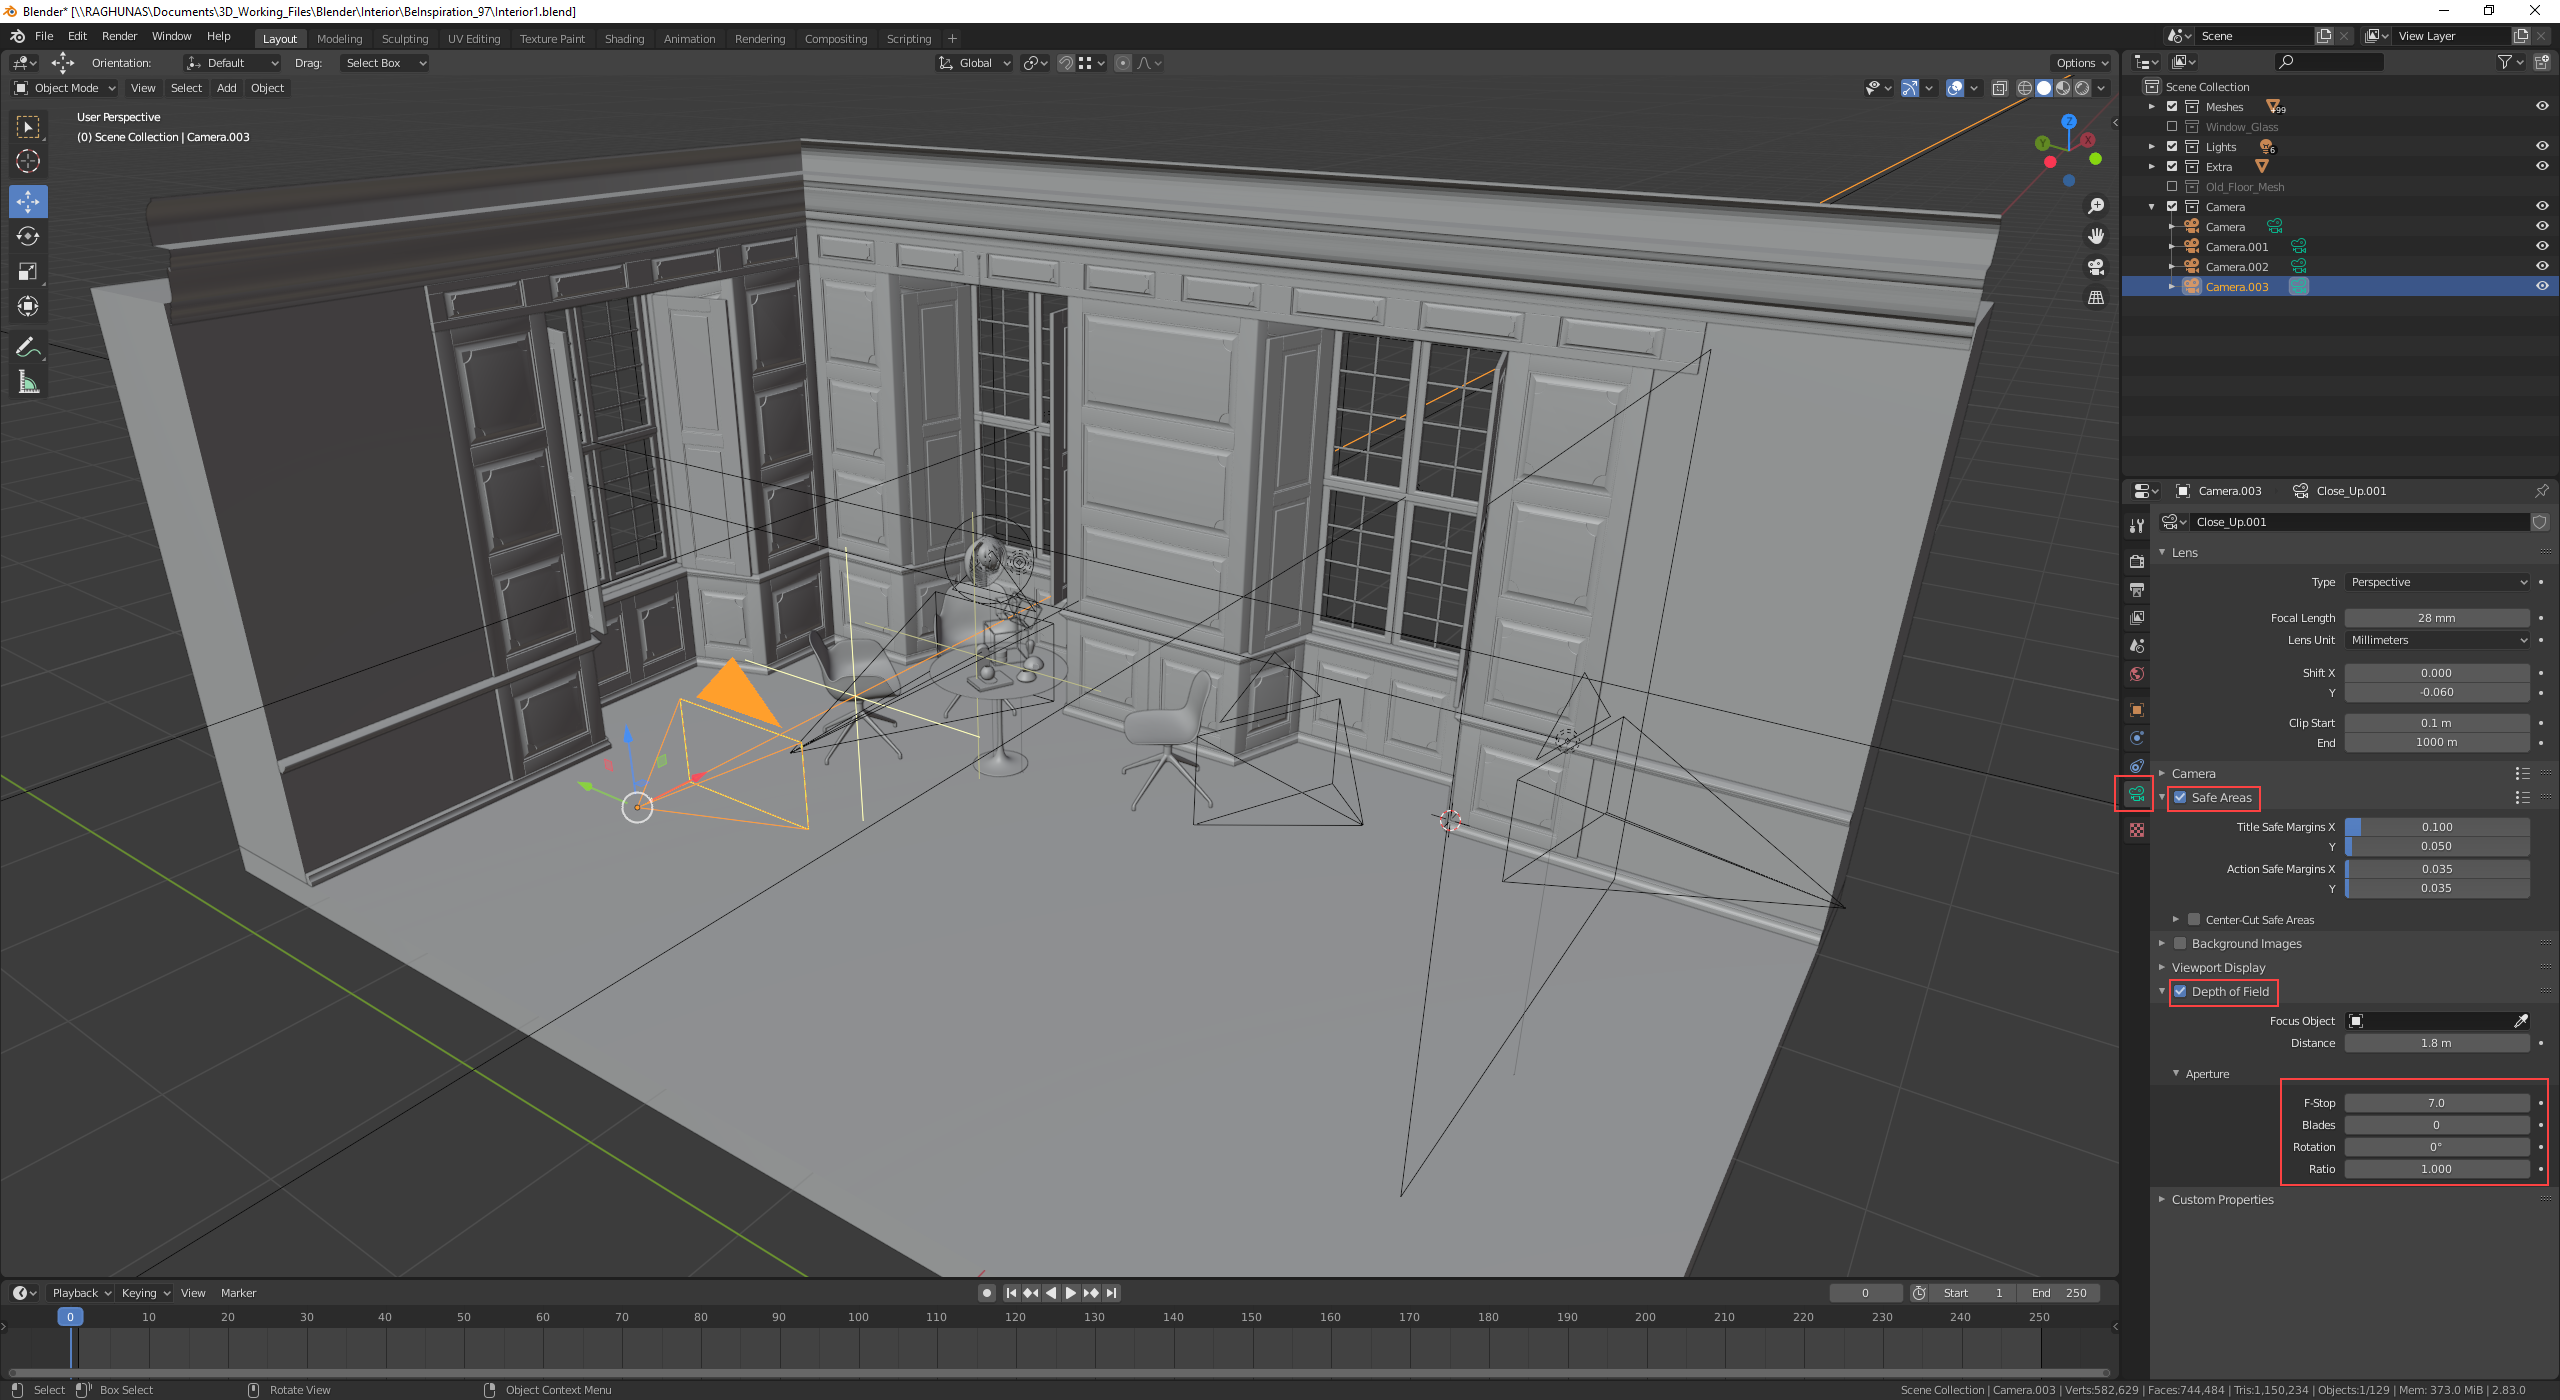
In Blender depth of field is only controlled by the F-Stop parameter i.e. lower the F-Stop value greater the depth of field experienced. Control the focus point through ‘Distance’ parameter. Cycles handle the blur values like a champ here (with help from Denoise data).
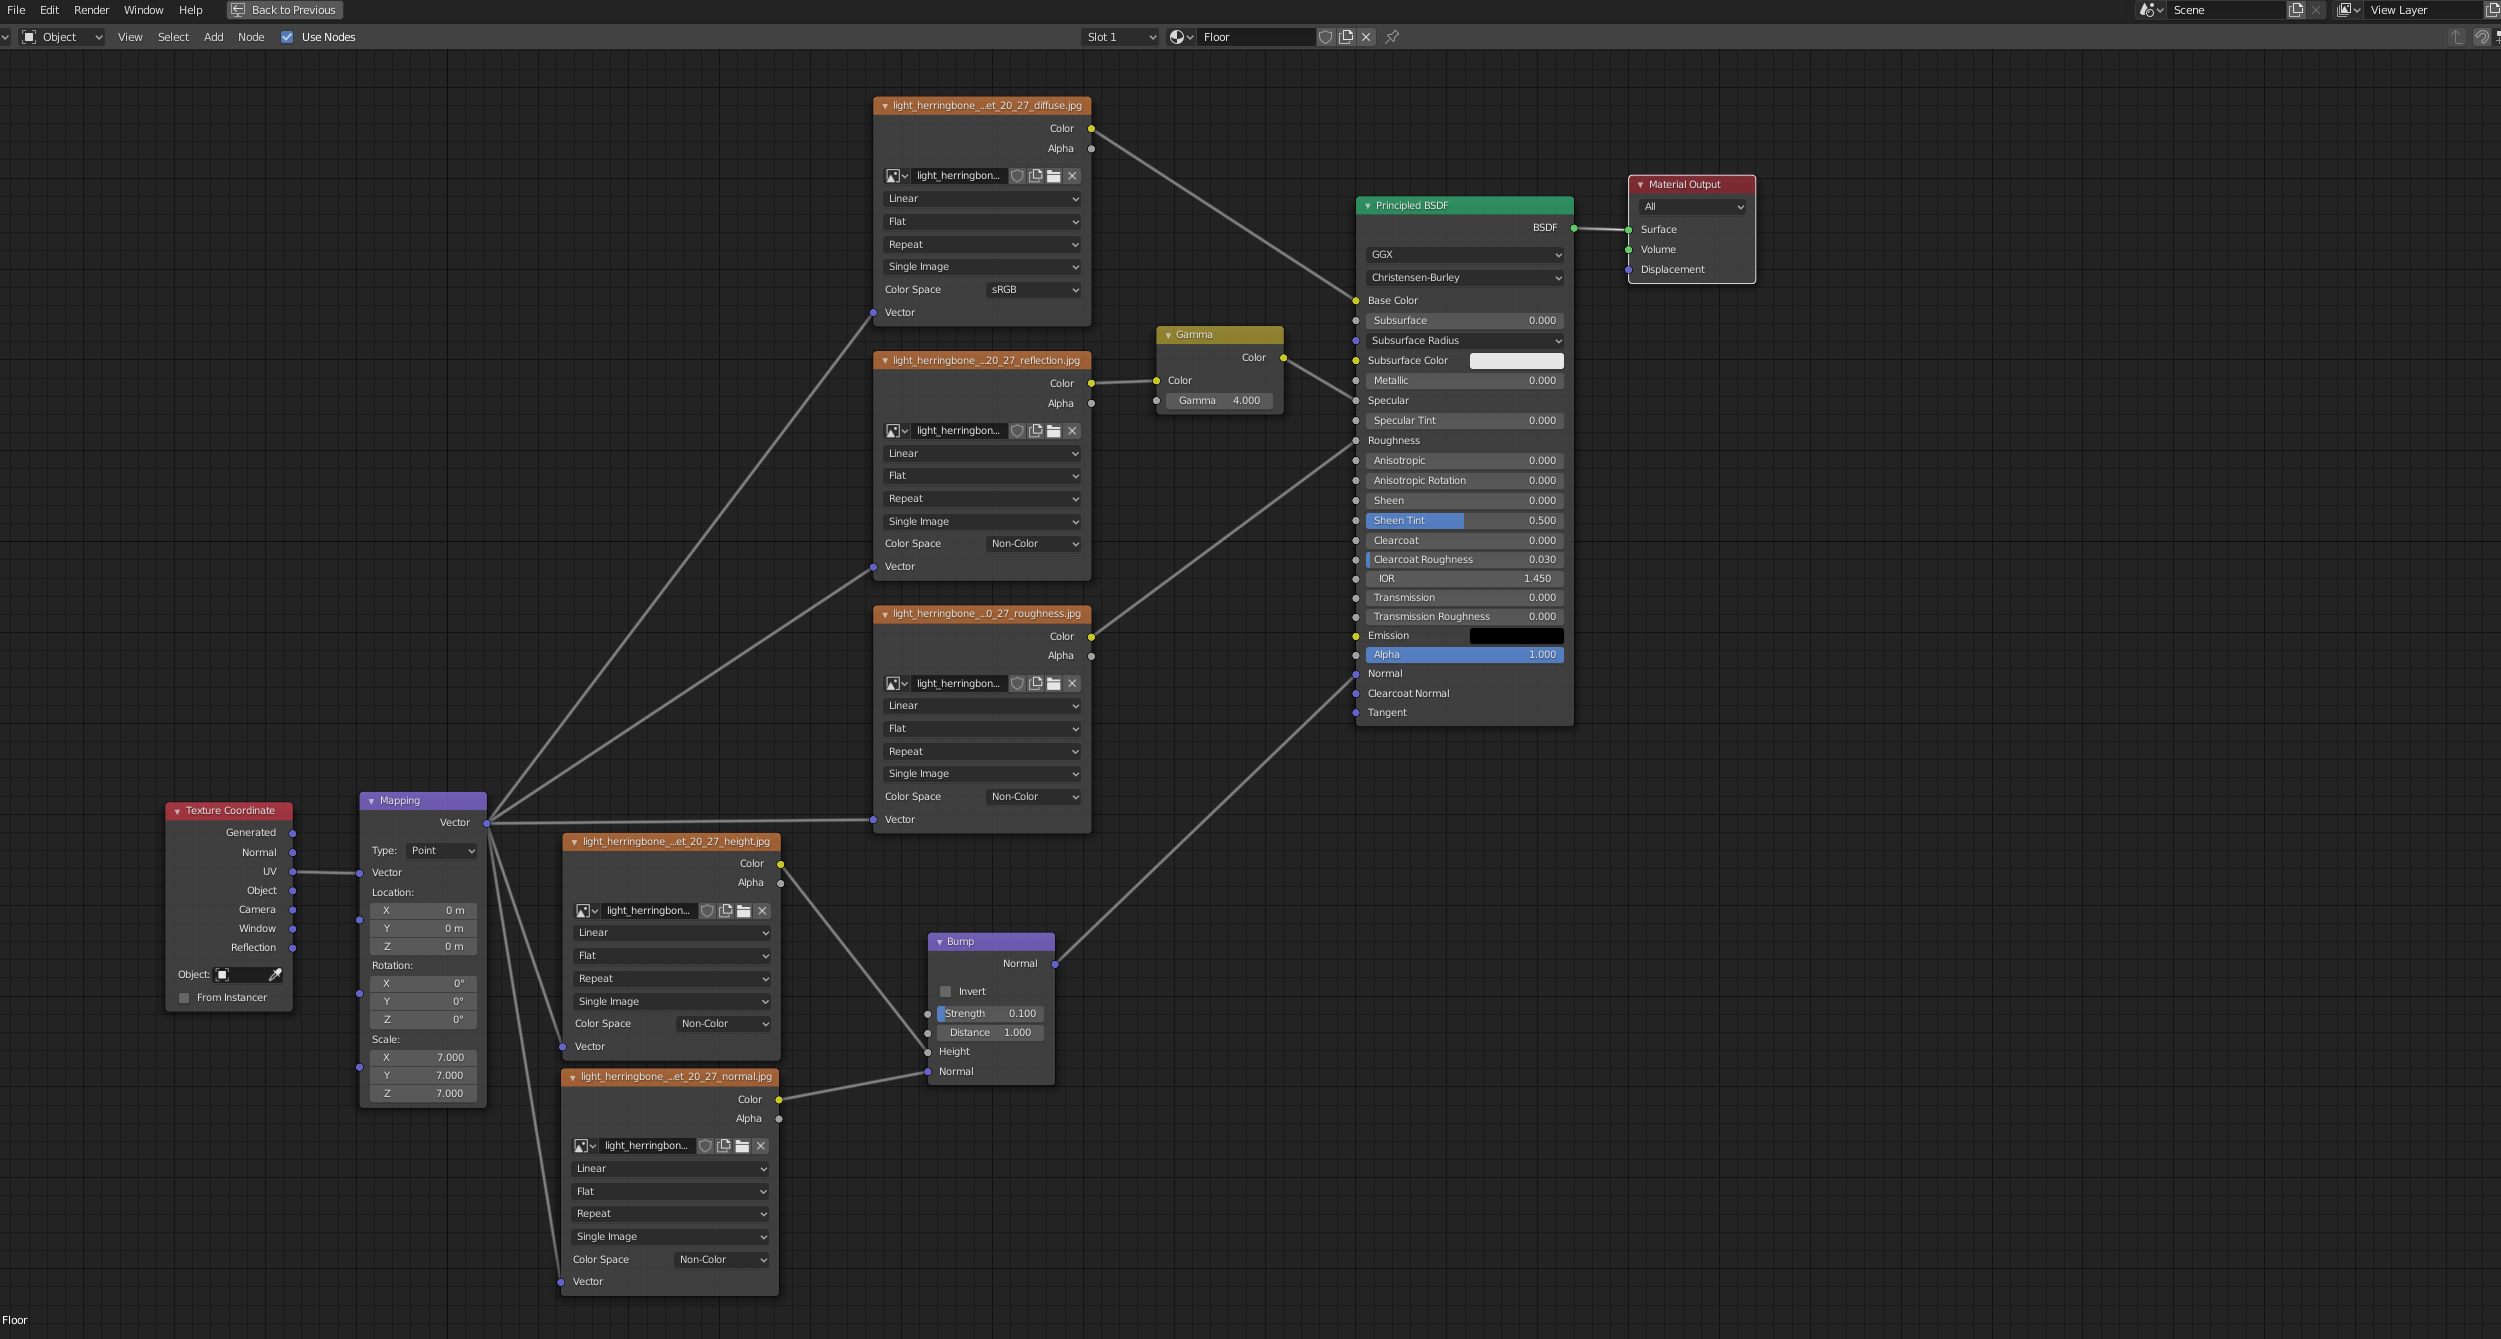
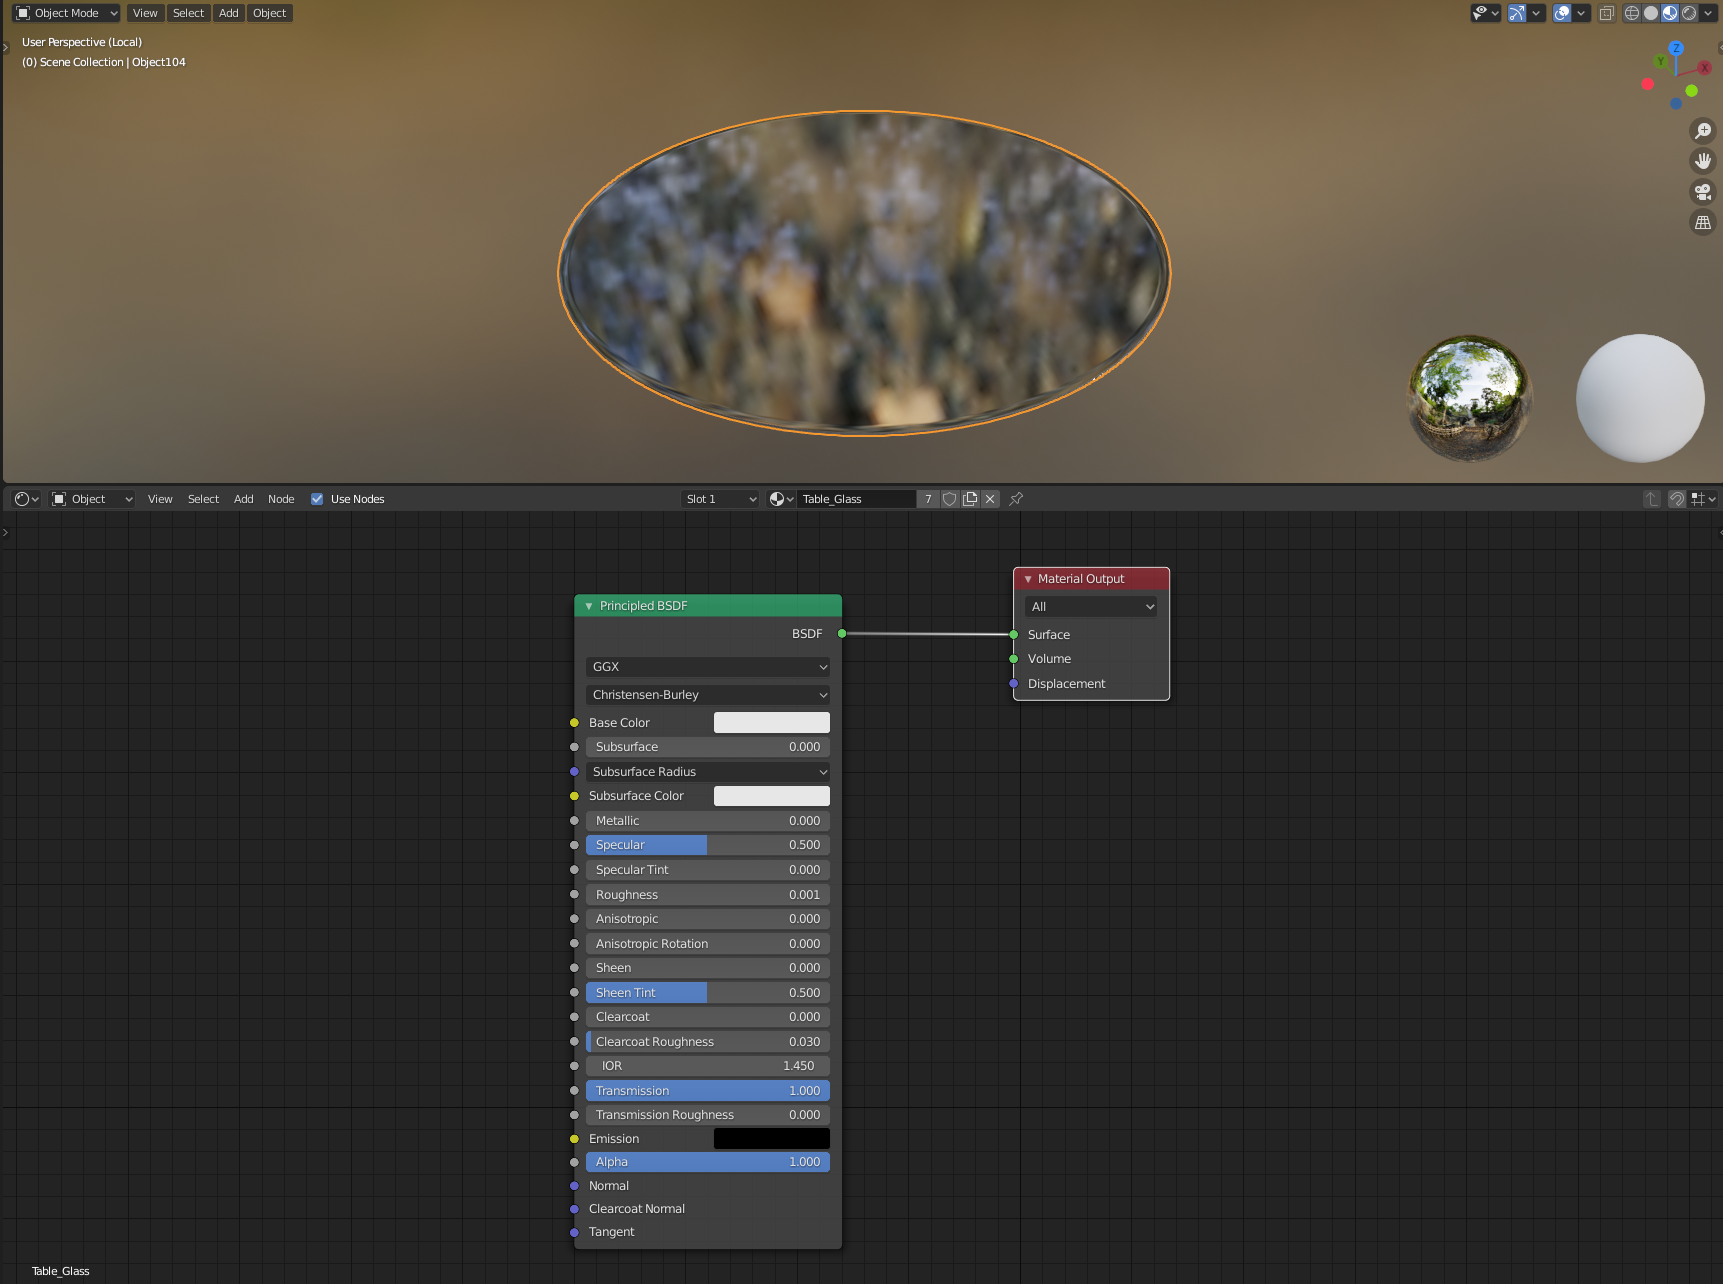
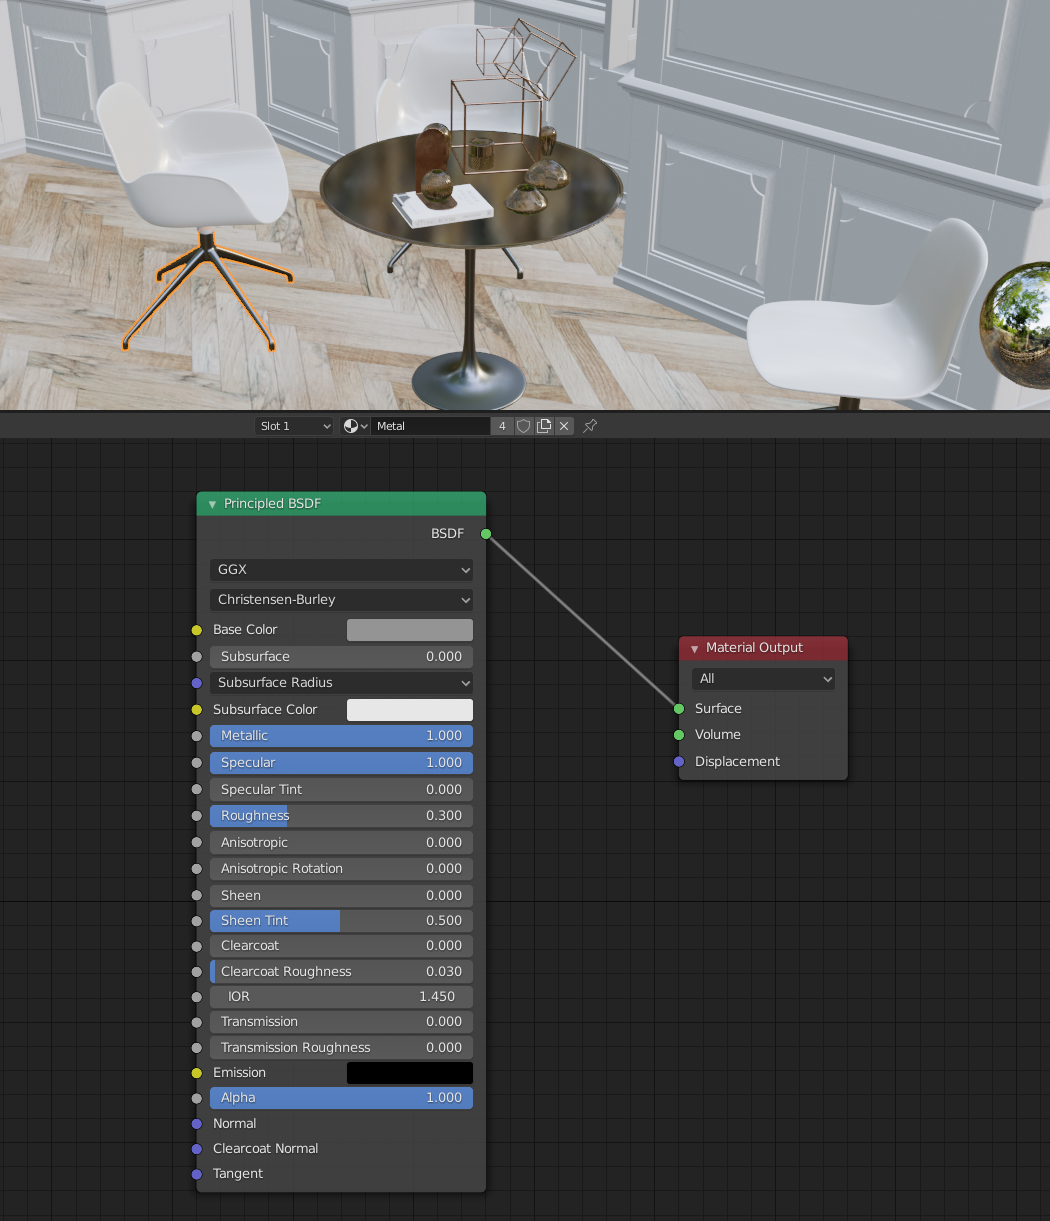
Now as camera and lighting setup is almost is complete, we will move towards the material setup. I have kept my materials simple with PBR workflow. As I am yet to fully understand Blender’s nodes in Shader Editor