I am basically a complete beginner myself when it comes to Blender workflow, but fortunately I was able to learn so much on forums and YouTube that I was able to render out a decent image in reasonable time.
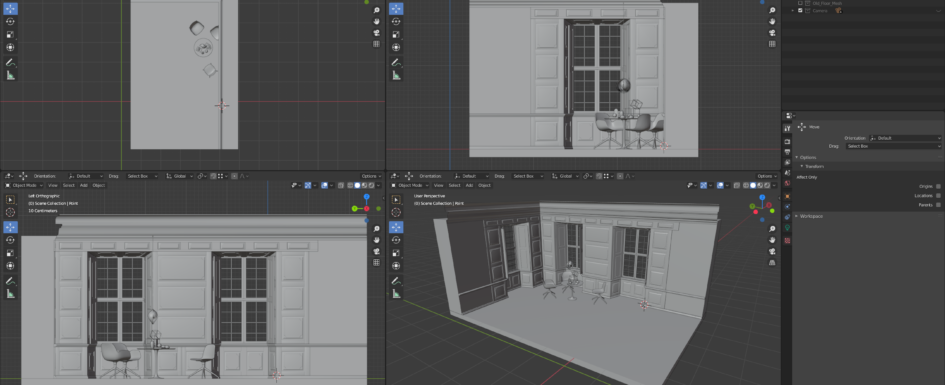
I will try to breakdown my process of lighting a simple scene exported from 3ds Max as .FBX format and rendering it through Cycles in Blender 3D. Below images show the imported scene in Blender (Exported on default settings of FBX from 3ds Max)–
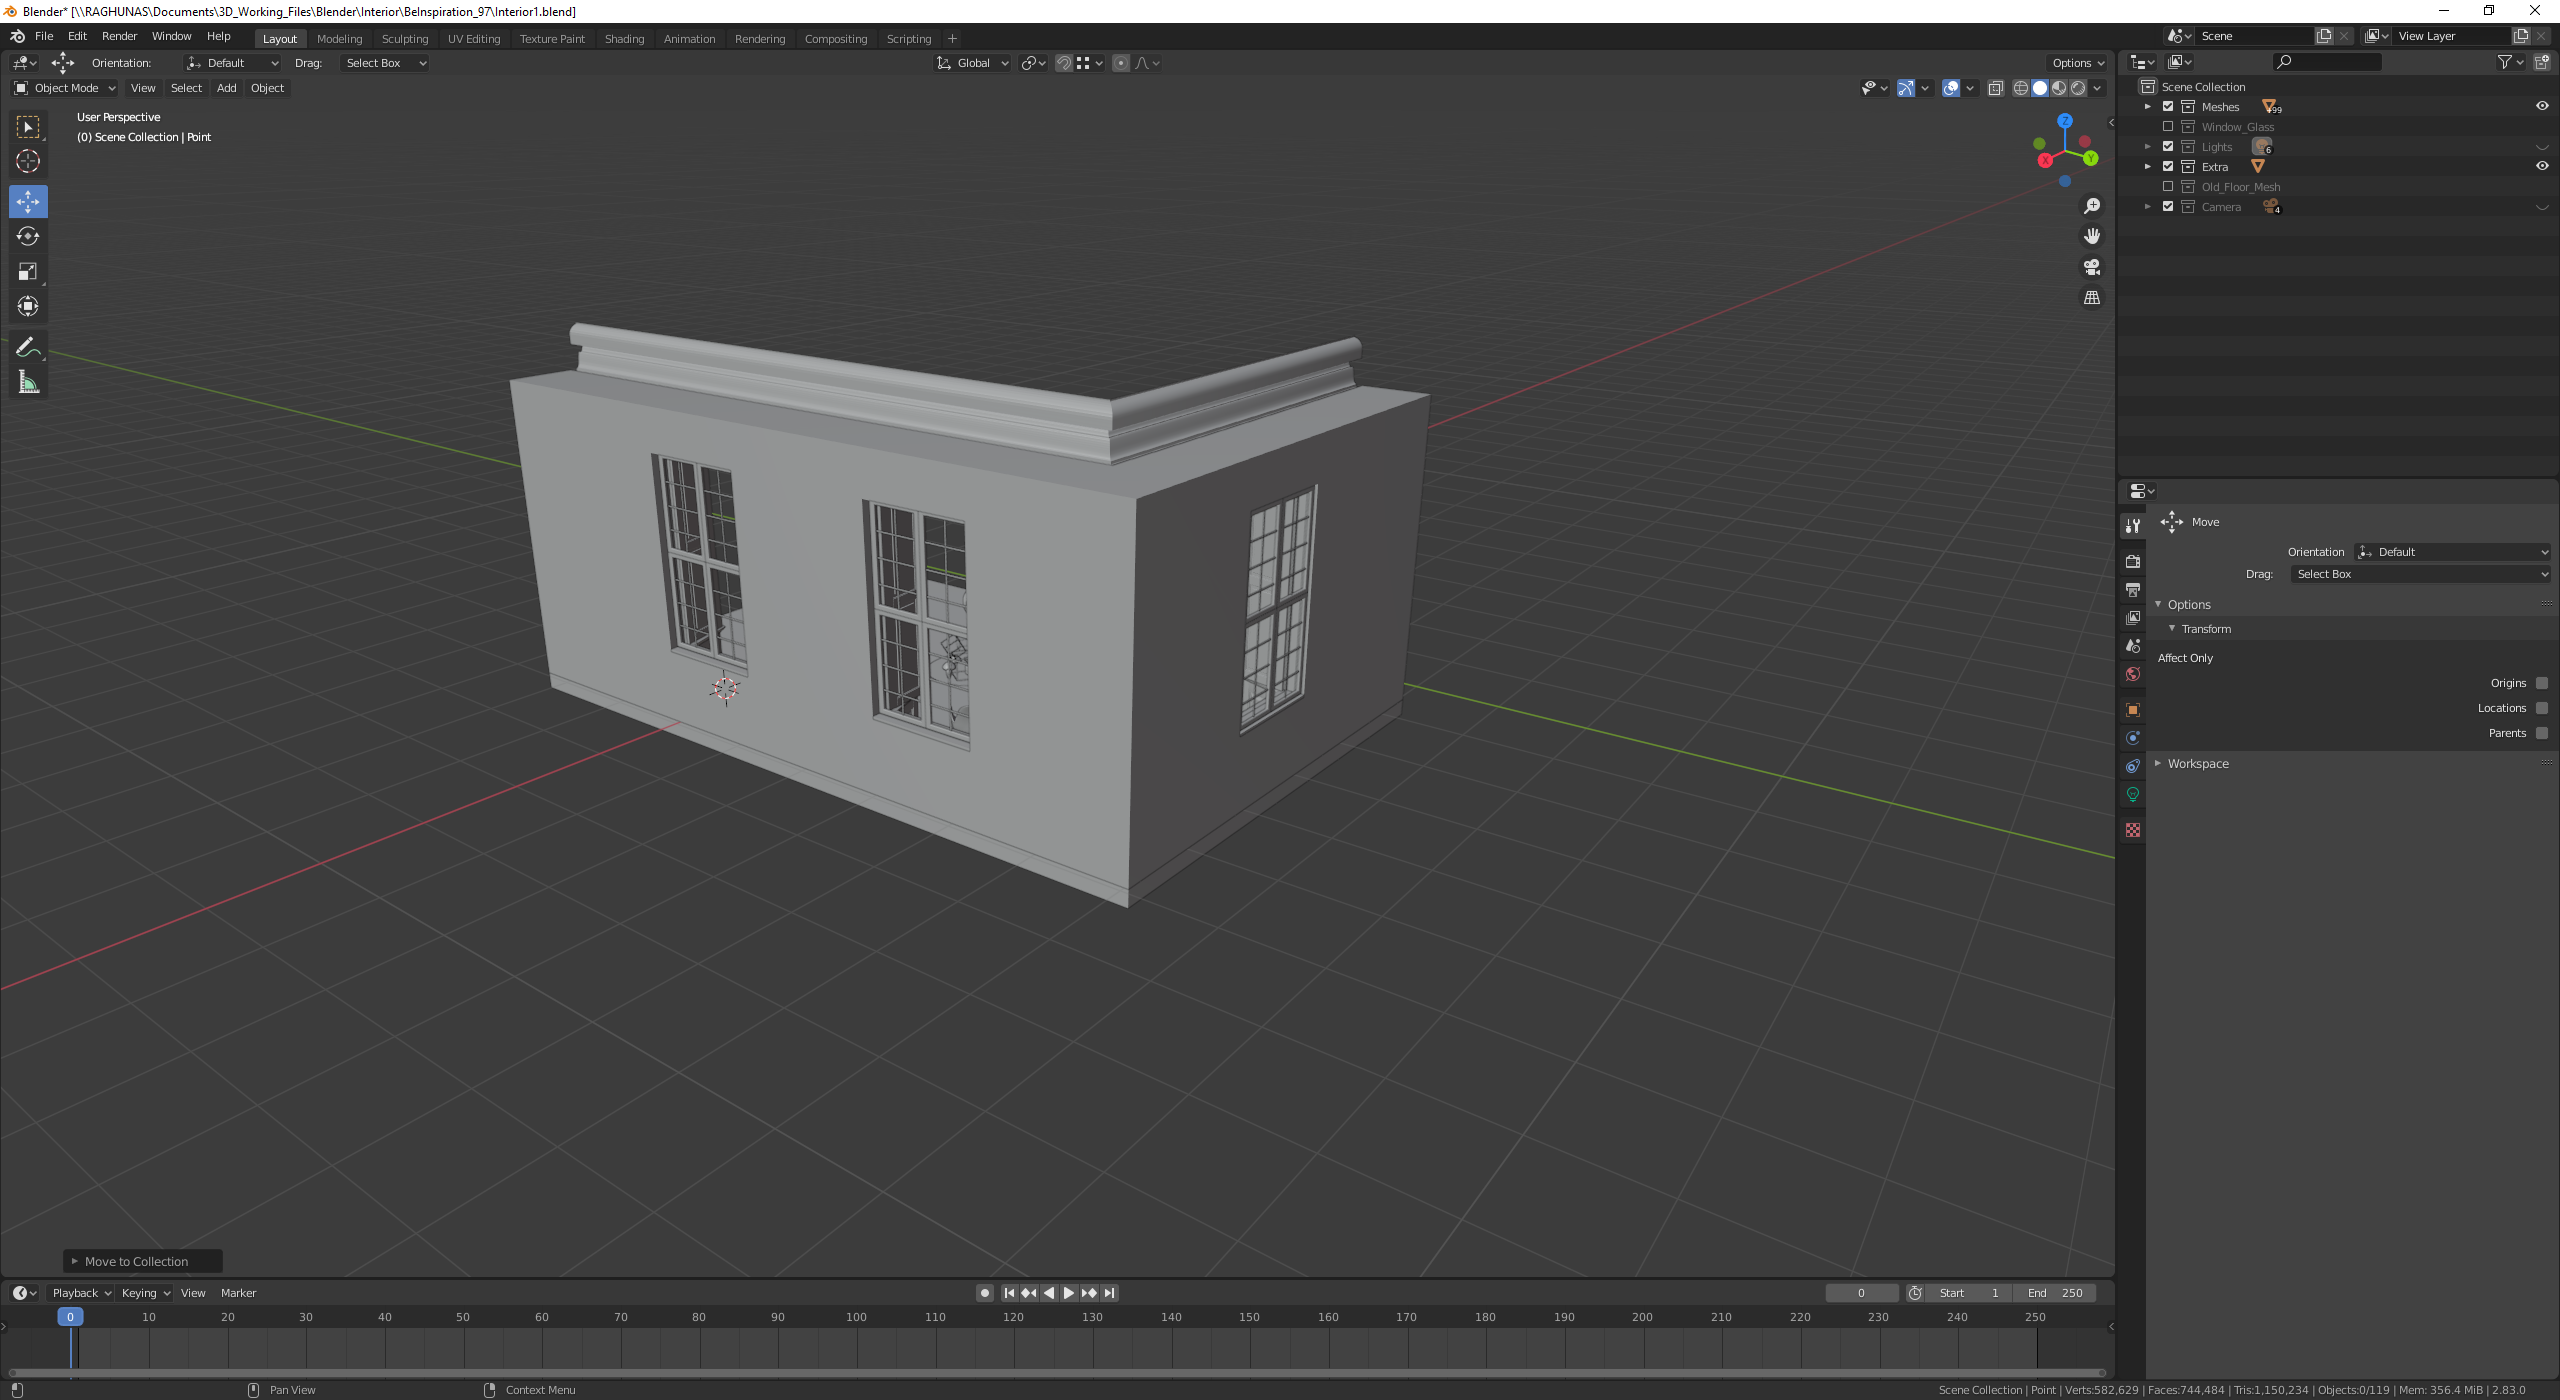
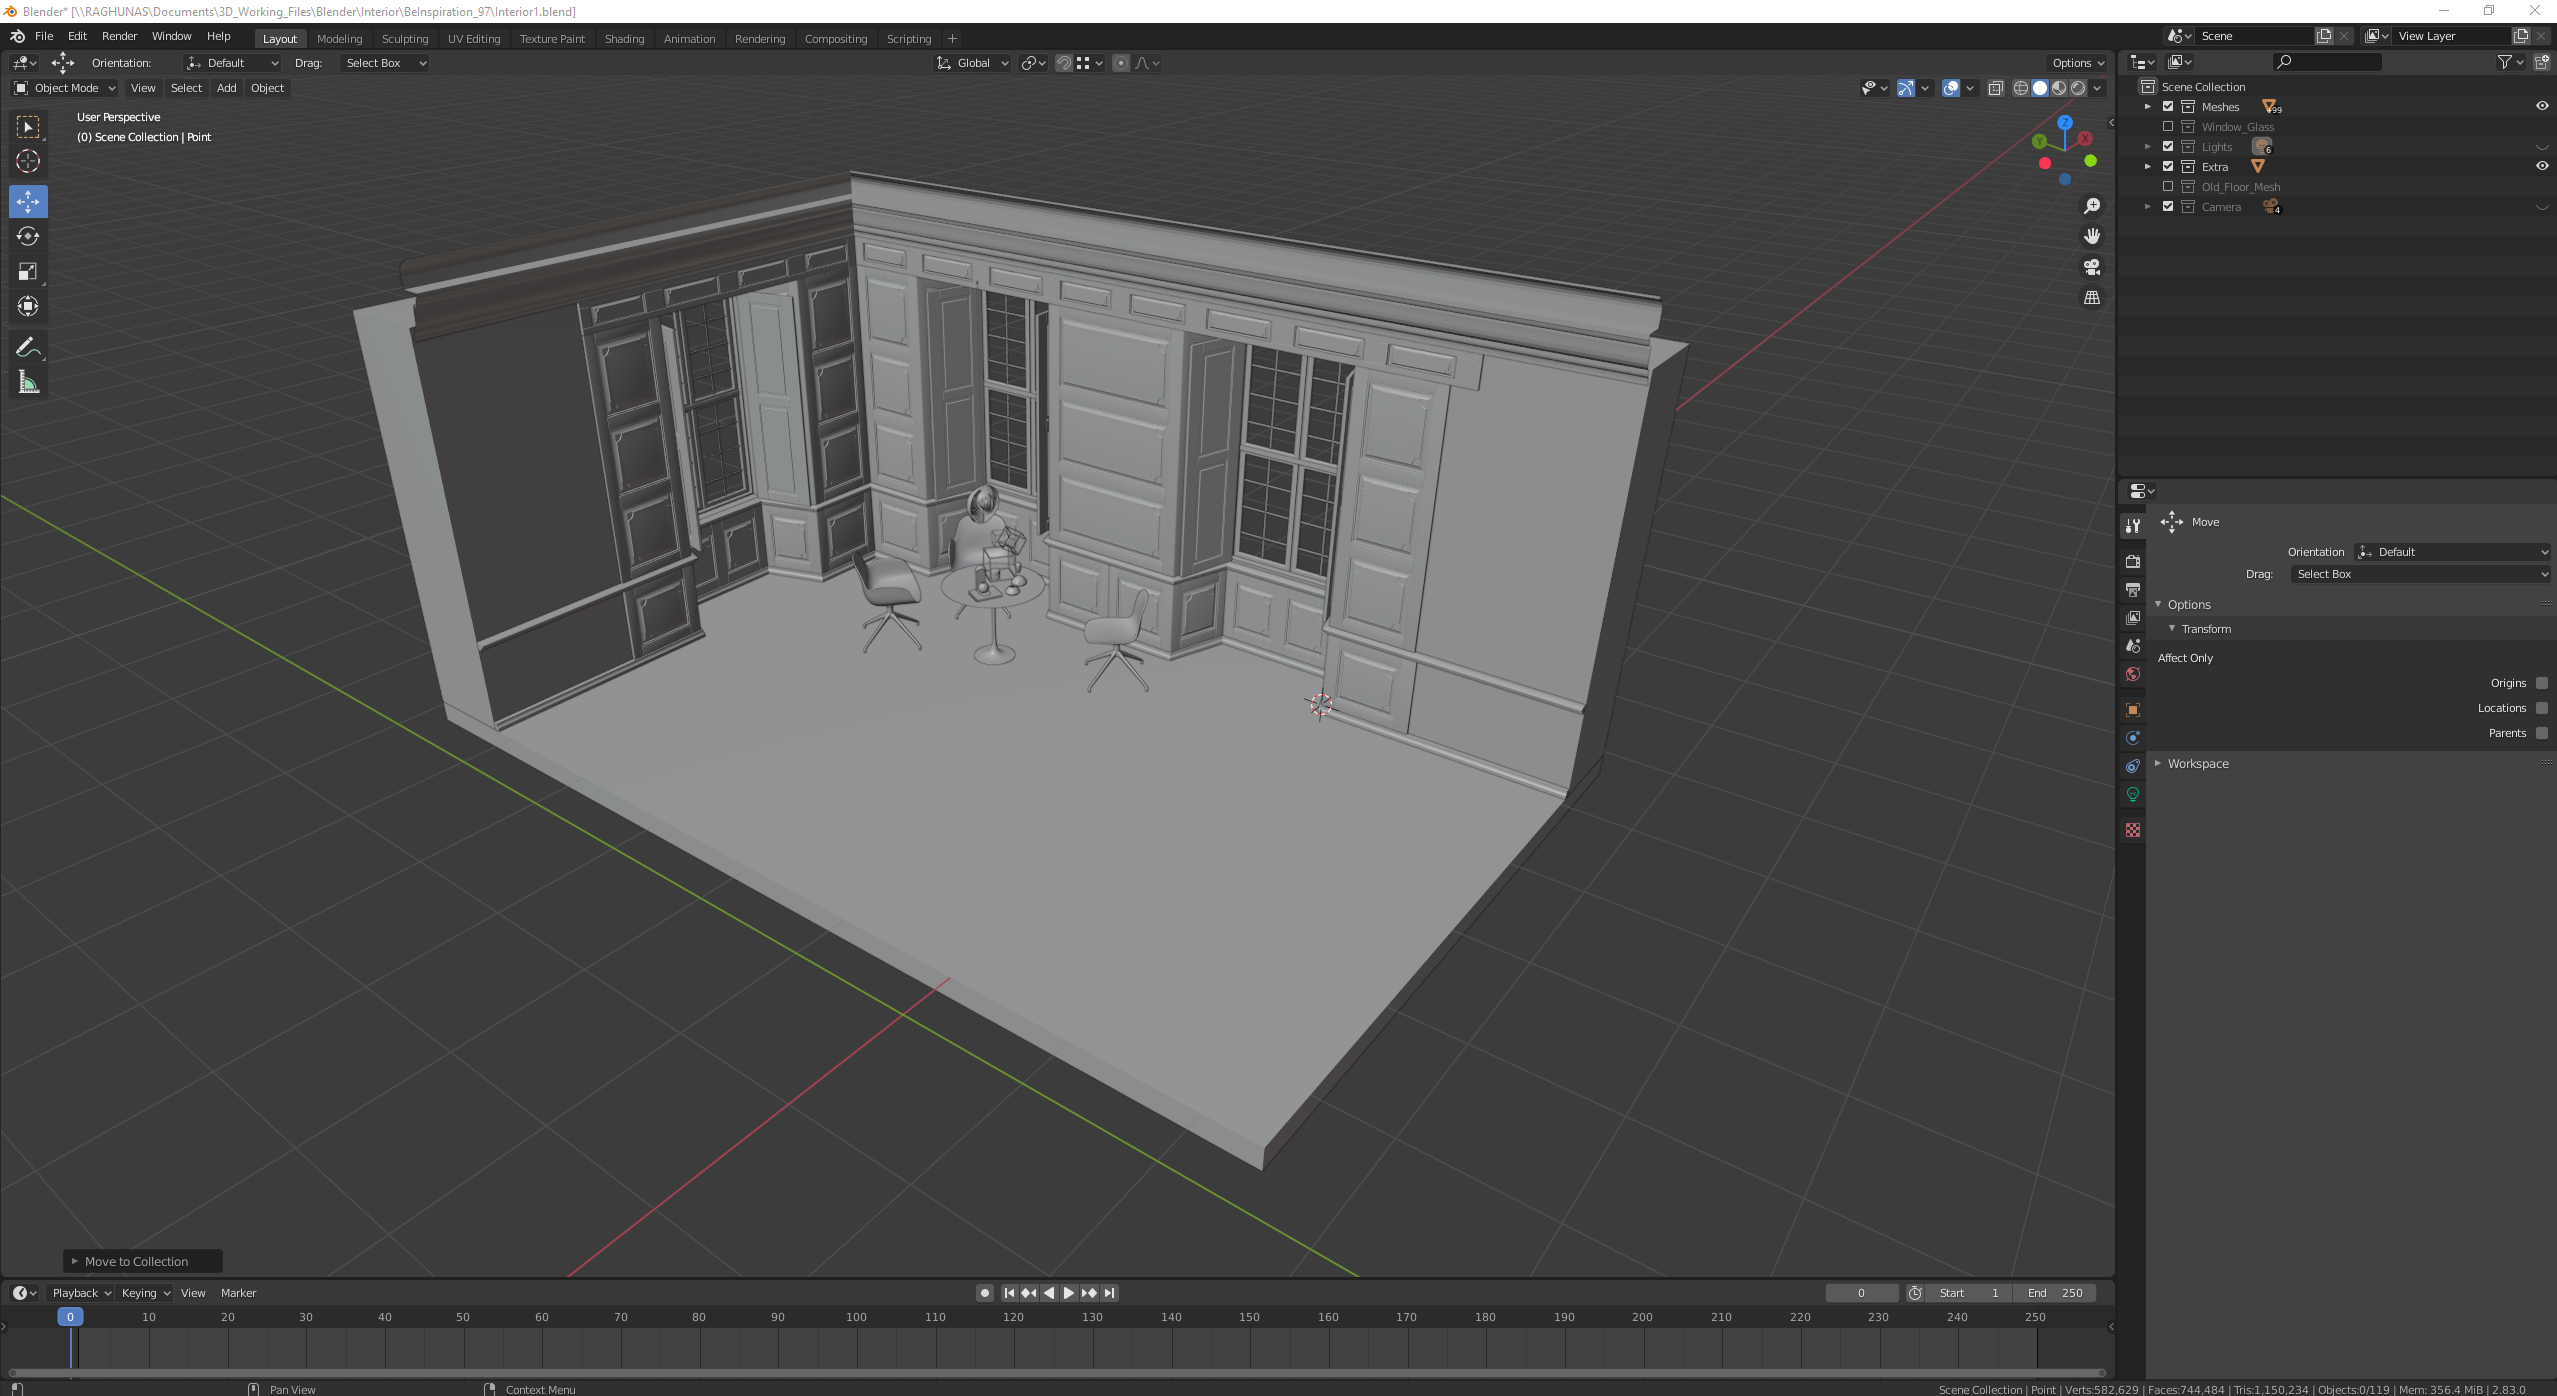
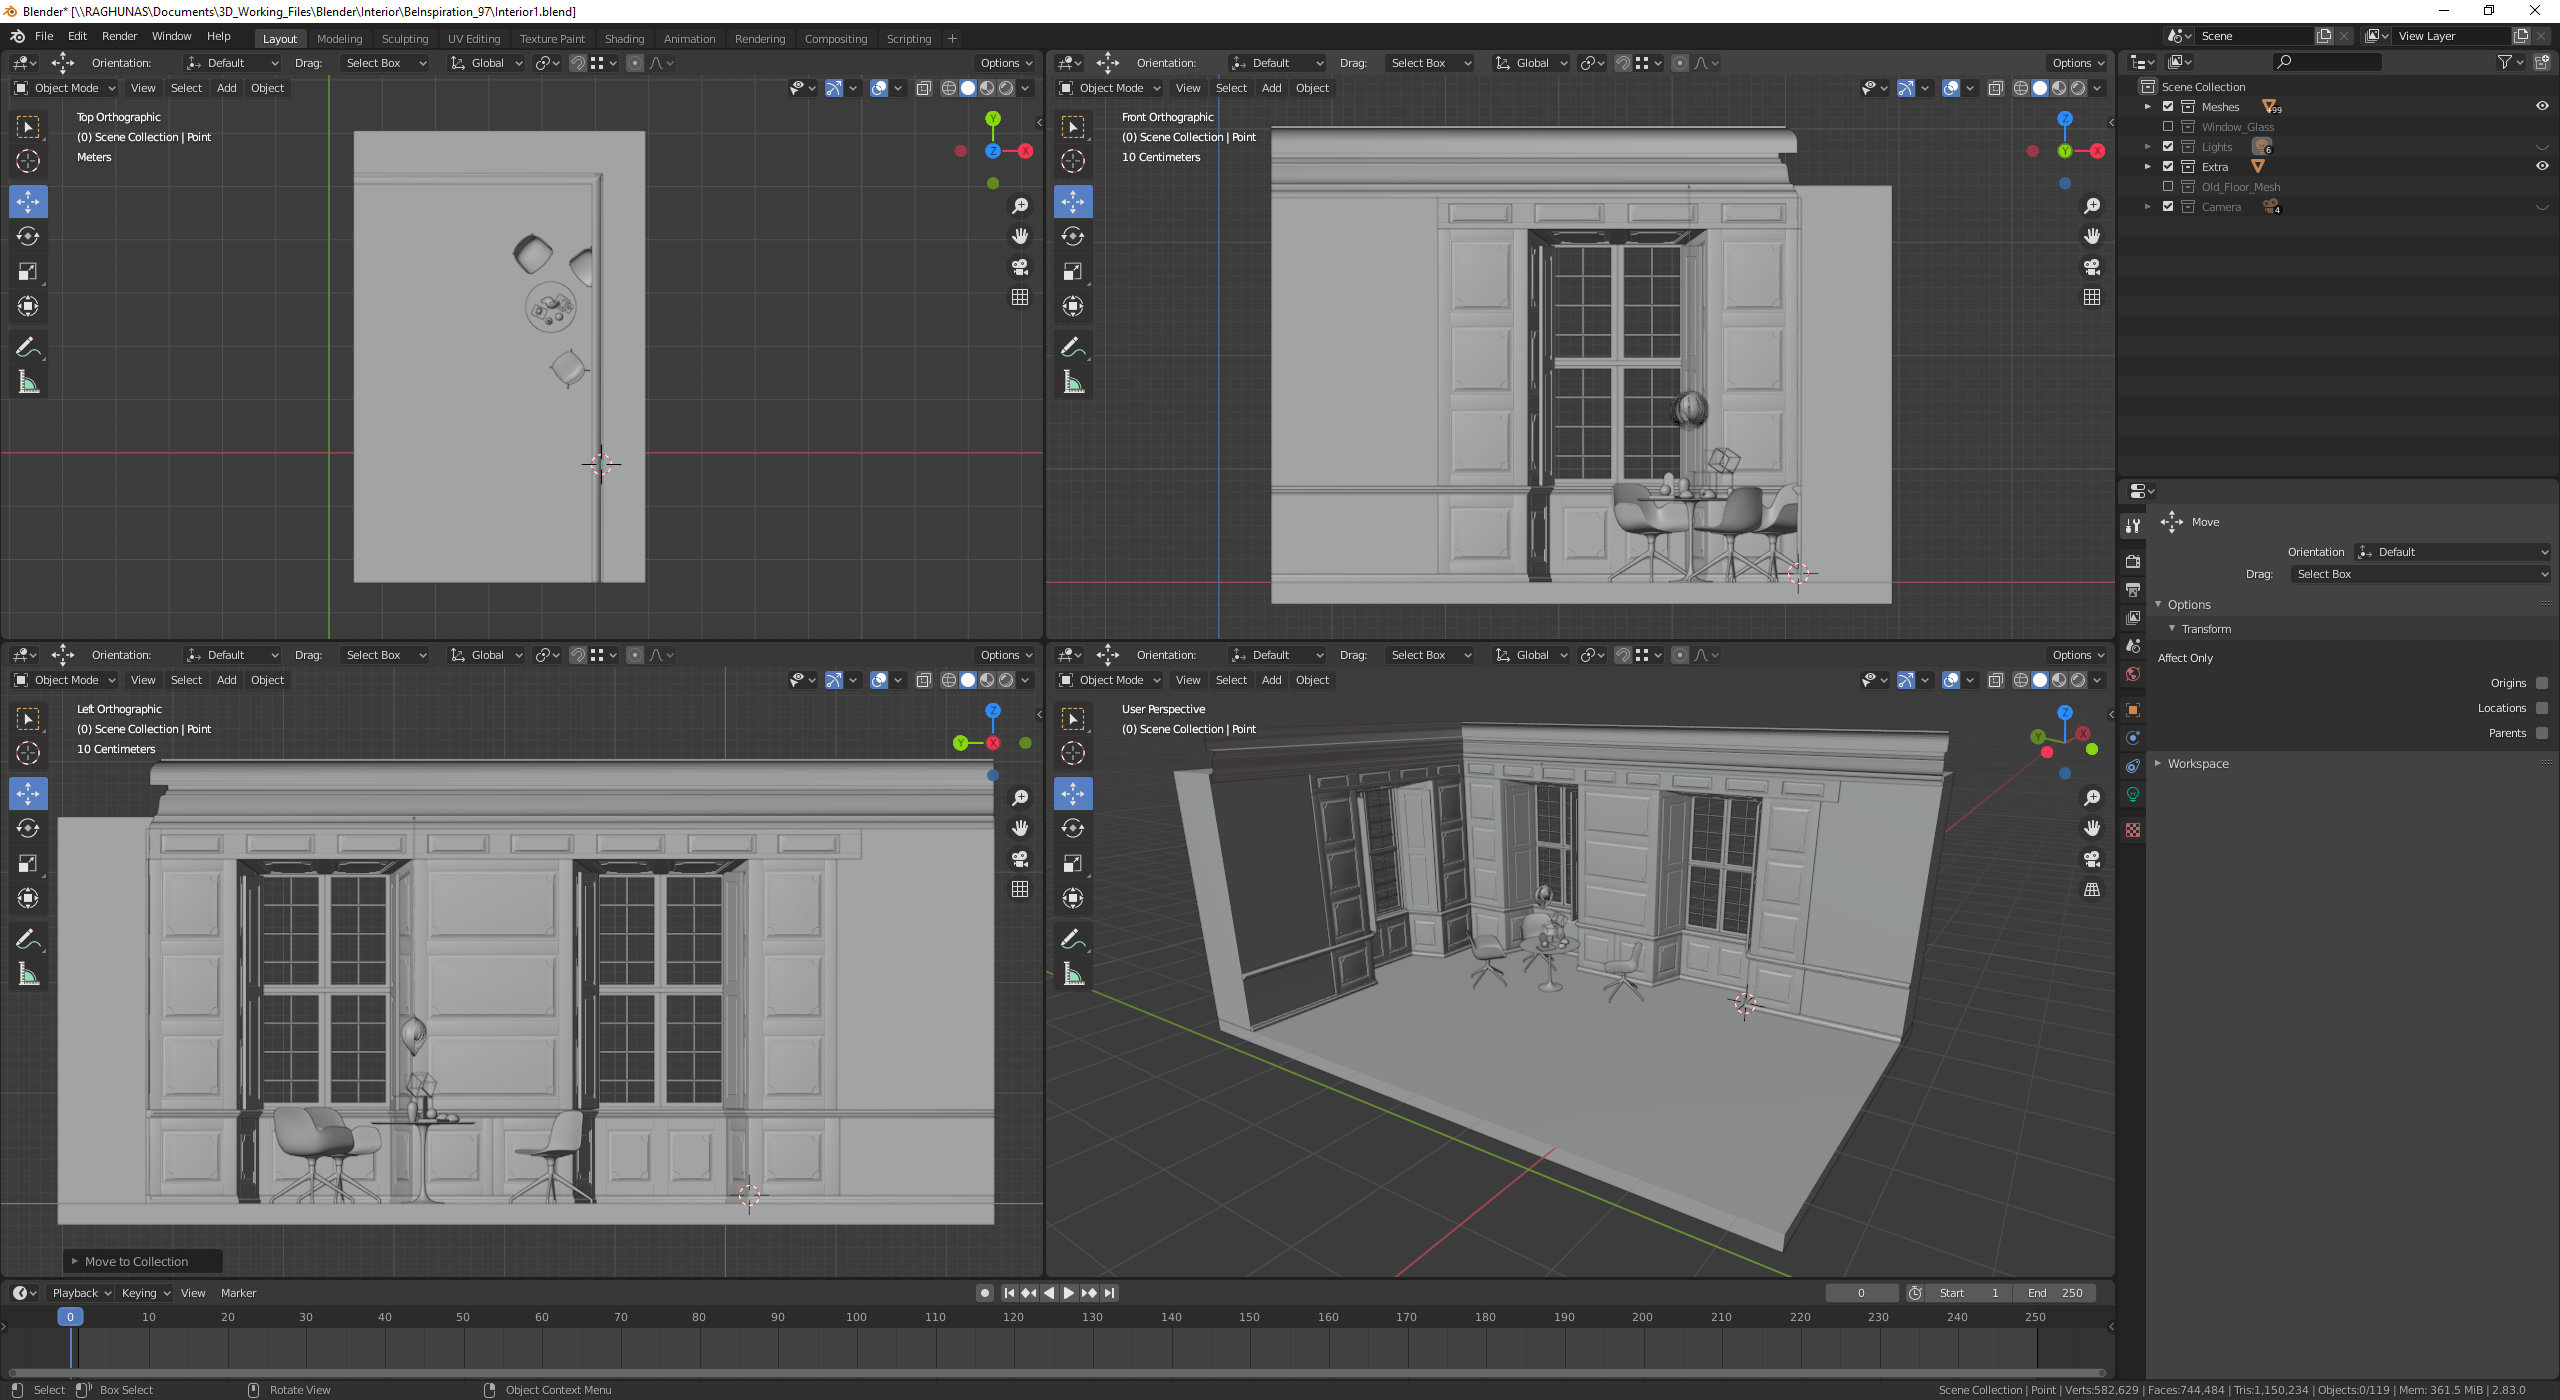
As you can see it’s rather a simple scene without any complex lighting scenario making it ideal for experimentation in Blender.
After importing I went and placed some “Area” lights on each window opening with below settings –
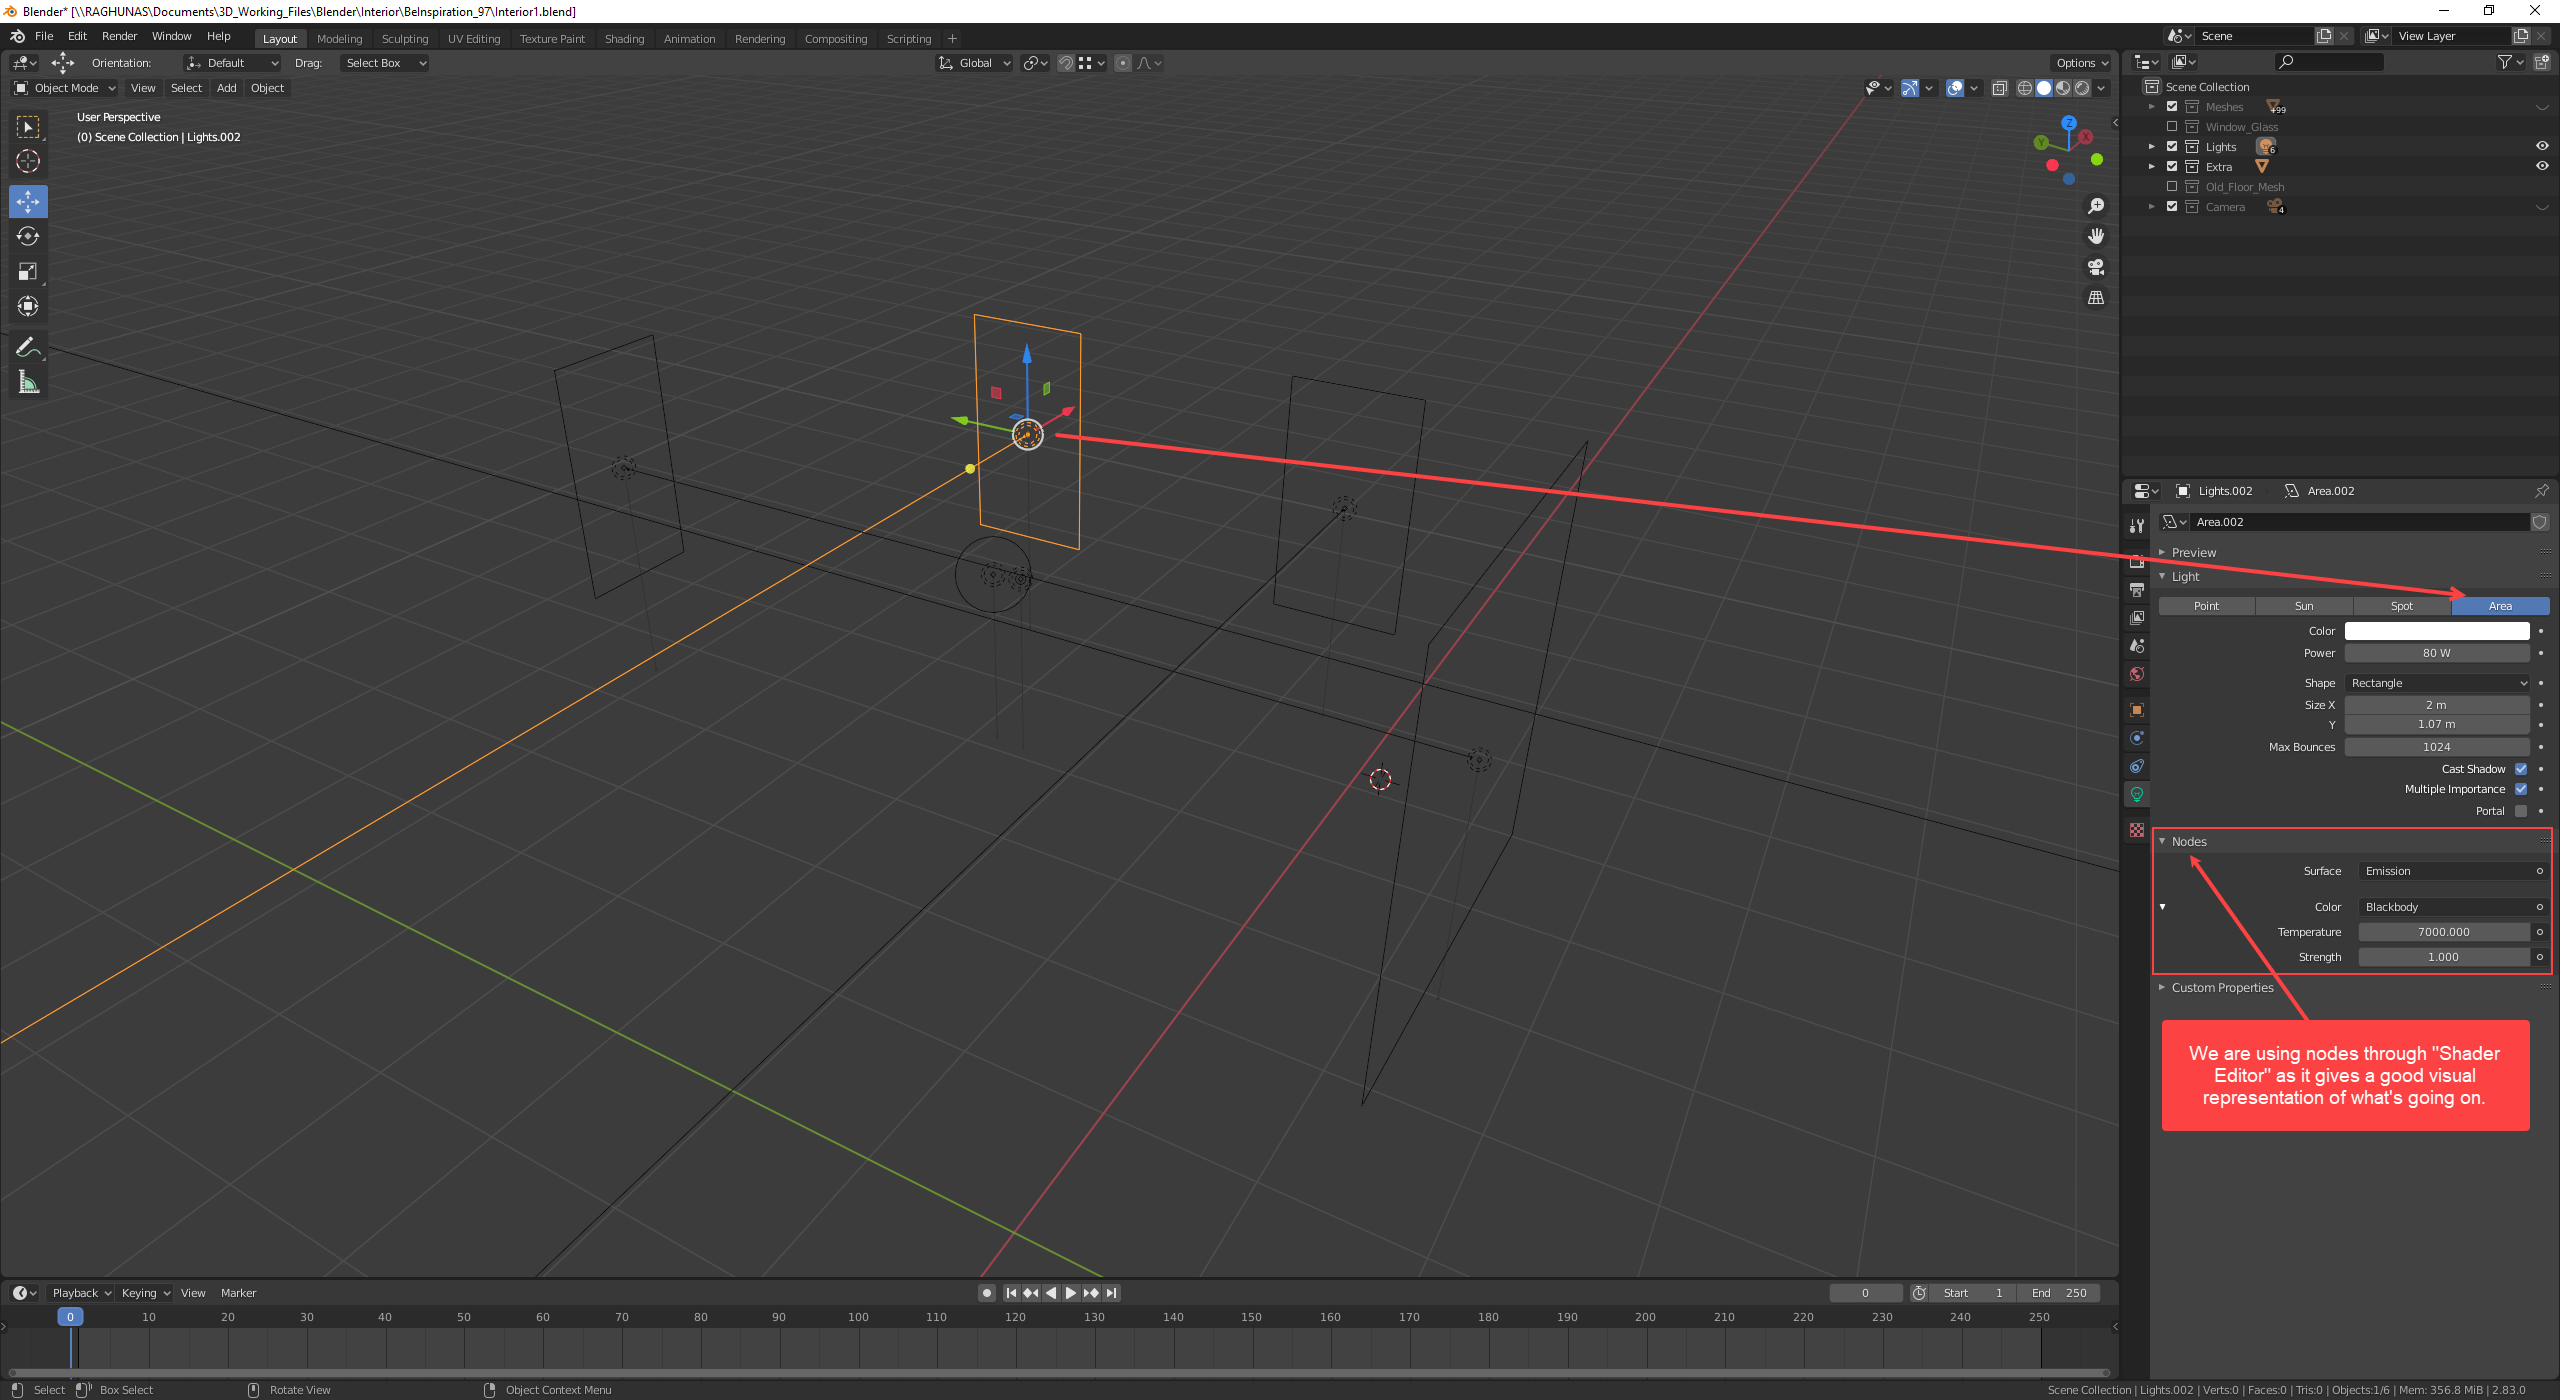
In Blender, it’s difficult to find the way to control light color through temperature parameter like we are all used from Vray and Corona. After some searching on Google and few coffee cups down, I was finally able to find the way to control the same through a Node called – “Blackbody” which you have to input into the light Emission color. Now the question comes as to how we can put this node where it supposed to go, that’s a tricky question because everybody on Google thinks that it should be straight forward which by the it is but only when you are familiar with Blender on first place. To use nodes on objects in Blender there are several ways to do so but I prefer to do it through – “Shader Editor” , which you can find on the top list of predefined work spaces or easily convert any workplace into “Shader Editor” by selecting it from top left drop down list on any workplace. You have to watch some basic videos to understand Blender’s UI to follow my break down. I will suggest CG Boost’s YouTube channel is a very good place to start.
Link – https://www.youtube.com/channel/UCWWybvw9jnpOdJq_6wTHryA
Blender 2.8 Beginner Tutorial Series by CG Boost